Is Your House Painter a Pro When It Comes To Surface Preparation?
If you scroll through Pinterest or Instagram looking at photos of house painting projects, it’s the after shots that really grab your attention, right? Maybe that gorgeous field color with the perfect exterior trim, or high-gloss ceilings that look like a liquid pool suspended over your head.
Go back in time, though, and you’ll see the level of detail and surface preparation that went into creating those finishes. You can’t have the knock-out “after” shot without the less glamorous early steps and stages.
As you get ready for an interior or exterior repaint, make sure to ask your painting company about what preparation is included. This will tell you volumes about the quality of their work.
How about a real-life example?
Removing wainscoting, wall repairs, and fresh paint
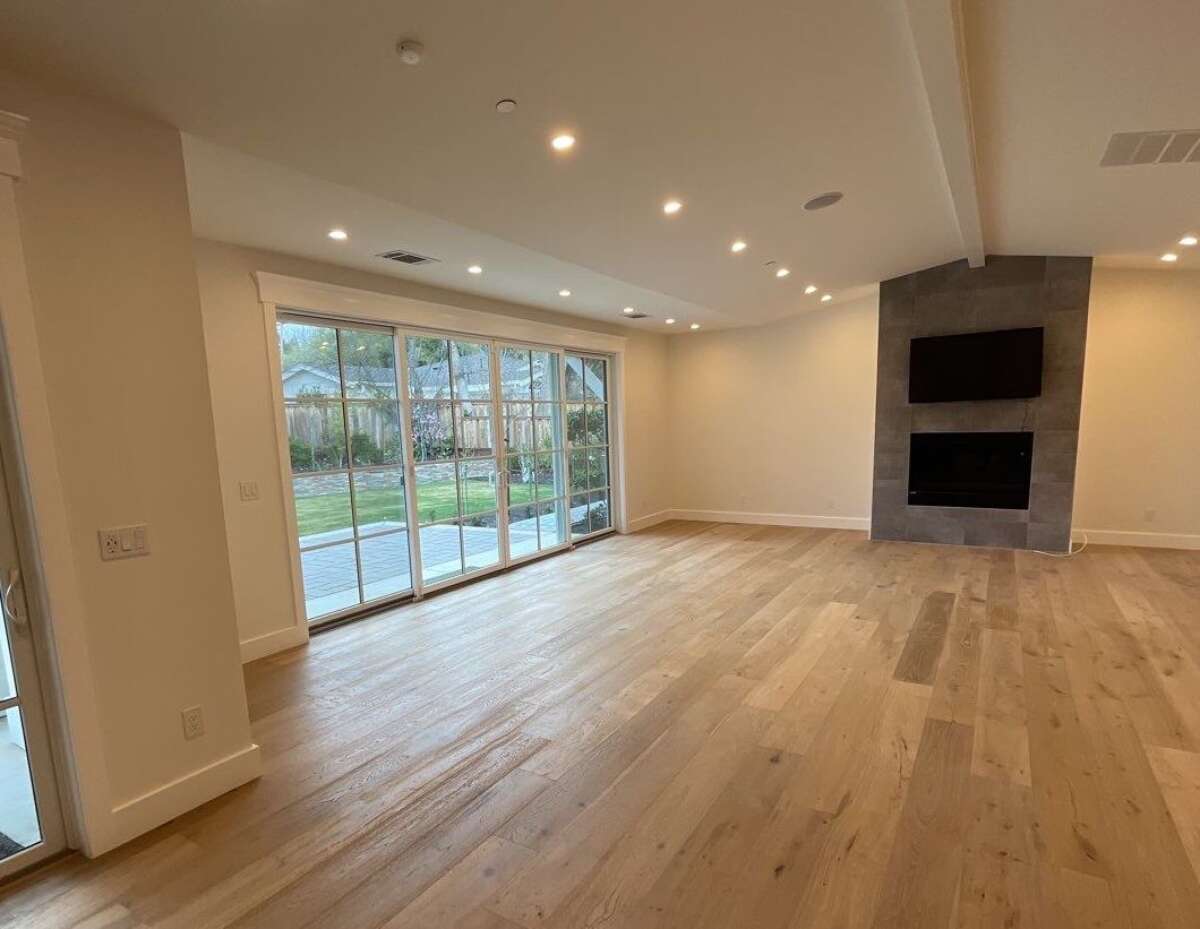
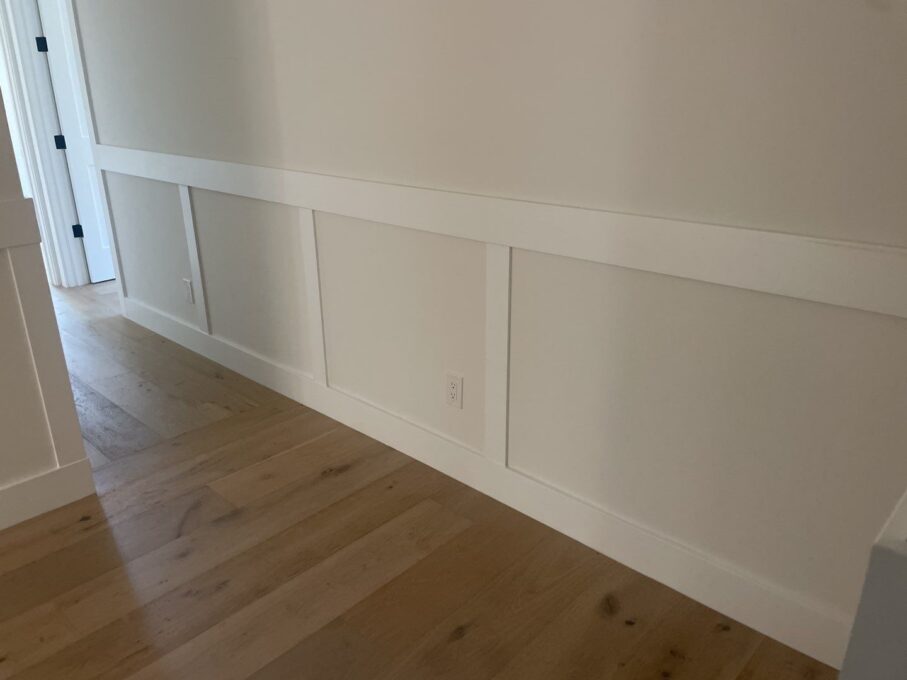
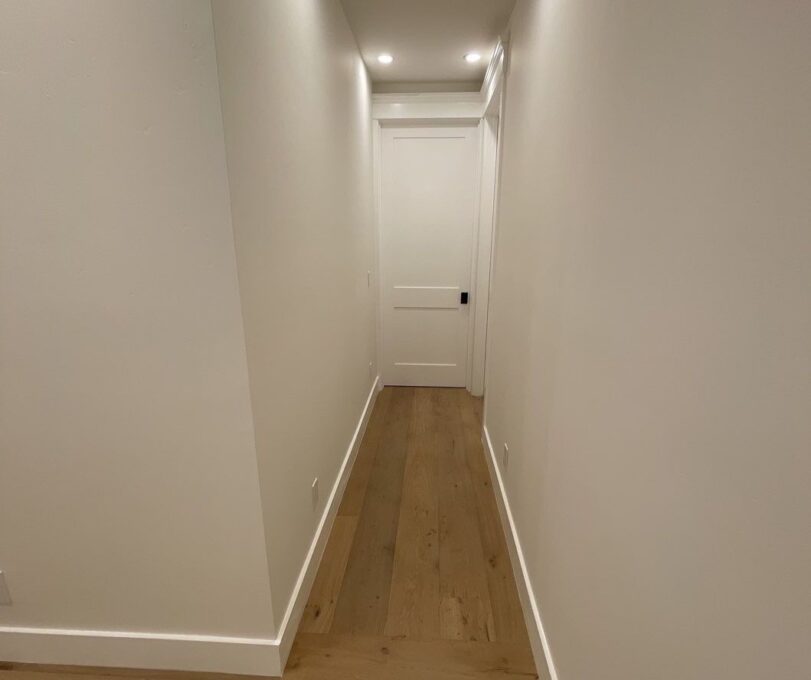
In this case our client asked us to help update her beautiful living room and hallway. The space is wide open, airy, and bright, especially thanks to the vaulted ceiling and large windows. As is often the case, however, she wanted to change up her style, and particularly to remove the existing wainscoting and trim.
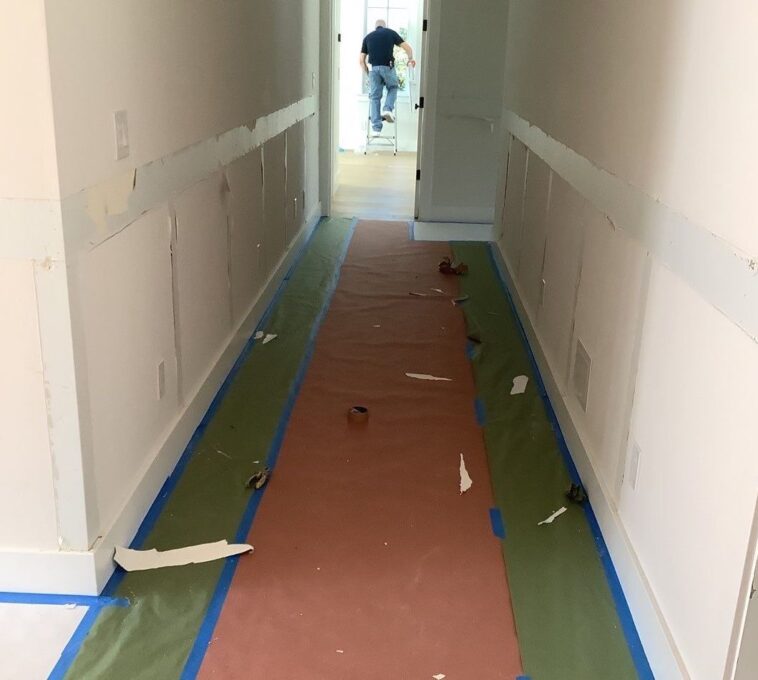
After we did, we were left with light surface damage, adhesive, and holes from finish nails. This is where that level of preparation really comes in!
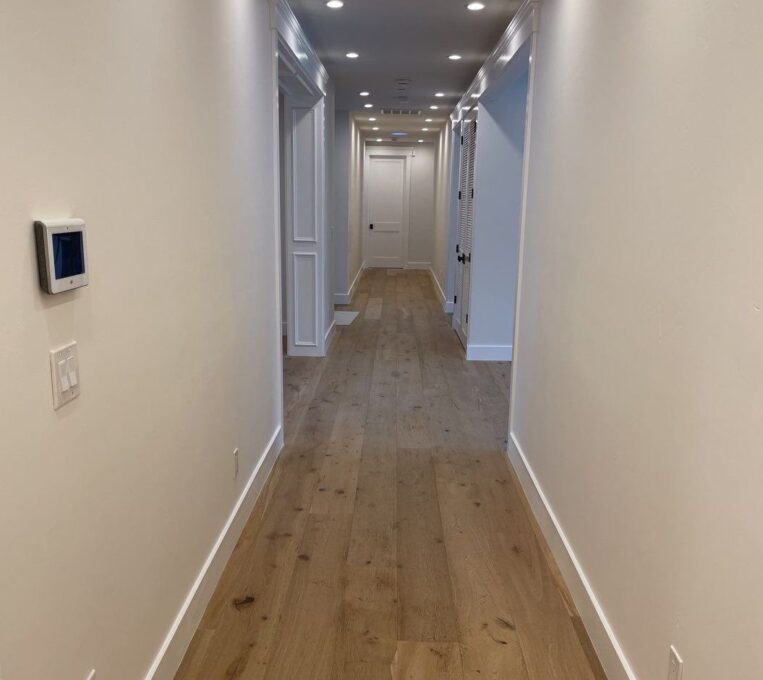
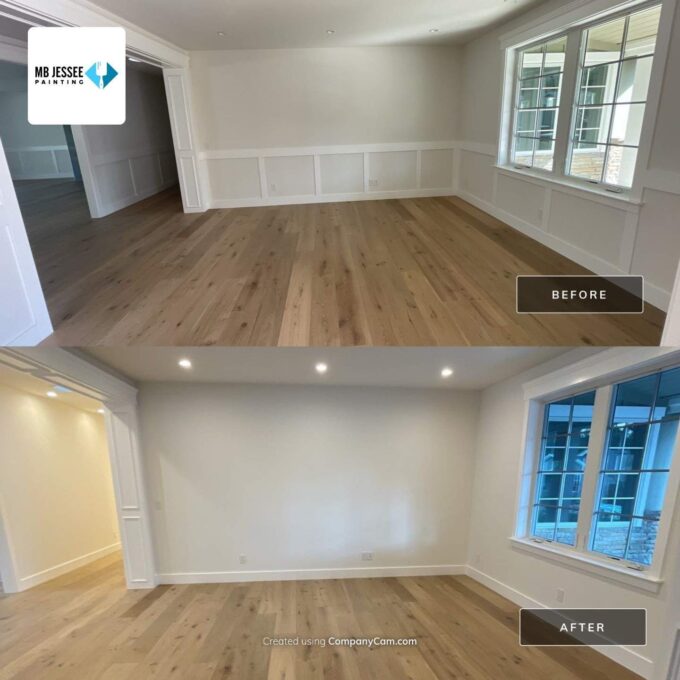
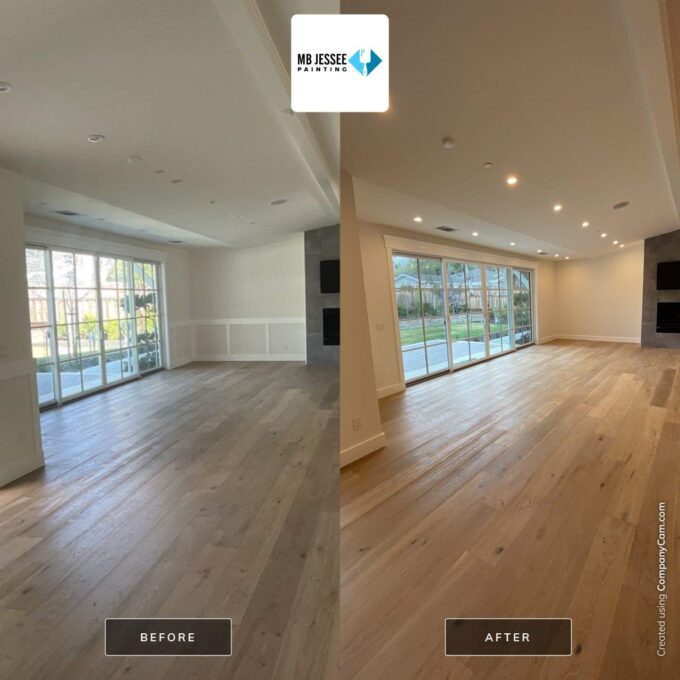
Patching, sanding, filling holes, priming, topcoat… All of it worked together to totally erase the old style and make way for a fresh new finish. Be sure to click through the gallery below to see the full transformation!
Have more questions about your Bay Area house painting project?
We’re to help. Explore our residential painting services here, or contact us to set up a free consultation.